How to install LED strip lights on ceiling without damaging wall?
Share
If you're looking to install LED strip lights on the ceiling but want to avoid damaging the walls, it's entirely possible to do so with minimal effort. Here’s a step-by-step guide on how to safely install your LED strips without leaving behind any damage.
Materials You’ll Need:
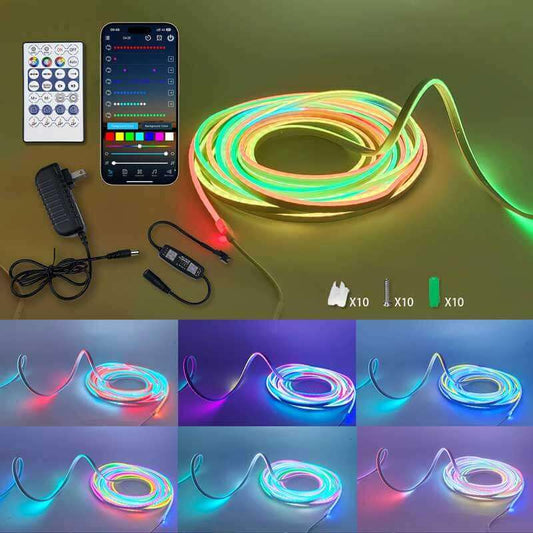
- LED Strip Lights (Choose a flexible, adhesive-backed LED strip)
- Measuring Tape (For accurate placement)
- Clean Cloth (For cleaning the surface)
- Scissors (For trimming LED strip length, if necessary)
- Double-Sided Tape or Removable Mounting Strips (For a damage-free install)
- Optional: Mounting Clips or Hooks (For extra support)
Step-by-Step Guide to Install LED Strip Lights Without Damaging Walls:
Step 1: Plan the Placement
-
Decide on the location where you want to install the LED strip. The most common locations are:
- Along the perimeter of the ceiling.
- In corners for accent lighting.
- Around crown molding or cove ceilings for indirect lighting.
- Use a measuring tape to mark the placement and ensure the lights are straight. You can use a pencil or small piece of tape to mark out the path.
Step 2: Clean the Ceiling
-
Before sticking anything to the surface, clean the ceiling with a dry cloth or damp microfiber cloth to remove dust, dirt, or oils. Clean surfaces ensure better adhesion.
-
If the ceiling is textured, the adhesive backing may have trouble sticking, so cleaning is especially important.
Step 3: Use Double-Sided Tape or Removable Mounting Strips
-
While most LED strips come with their own self-adhesive backing, this may sometimes leave residue or peel paint when removed. For a damage-free option, you can use double-sided tape or removable mounting strips (such as those by Command Strips).
-
Apply the tape to the back of the LED strip, focusing on the edges and a few spots along the strip to secure it firmly without leaving residue on the ceiling when you remove it.
- Command Strips: These are great because they’re designed to adhere firmly but remove without leaving residue or damaging the surface. They are perfect for temporary or semi-permanent installs.
Step 4: Cut the LED Strip to Size (If Needed)
-
If your LED strip is too long for the space, use scissors to cut the strip along the designated cut lines. These are usually marked by small scissor icons on the strip.
-
Make sure you don't cut the strip at random locations, as it can damage the electrical circuits inside.
Step 5: Stick the LED Strips to the Ceiling
-
Peel off the backing from the adhesive or double-sided tape and start applying the LED strip to the ceiling at one end of your marked path.
-
Press gently but firmly as you move along the marked line. Make sure the LED strip adheres well, and press down at intervals to secure it properly.
-
Avoid stretching the tape or strip as you install it, as this can cause it to detach or sag later.
Step 6: Optional – Use Mounting Clips for Extra Support
-
If you want extra security, or if you have concerns about the adhesive over time, consider using mounting clips or small hooks designed to hold LED strips.
-
Mounting clips can be attached with removable adhesive or tiny nails (in case you want something more permanent) and are a great way to keep the strip from sagging.
Step 7: Connect the Power Supply
-
Once the LED strips are installed, connect the power supply and plug it into a nearby outlet.
-
Make sure the power supply matches the voltage of your LED strips. If you're using a smart LED strip, set it up with your preferred remote or app.
Step 8: Test the Lights
-
Turn on the lights to check that the installation was successful.
-
Adjust any settings for color, brightness, or effects if the strip is smart-enabled.
Additional Tips for a Damage-Free Install:
-
Use Low-Tack Tape for a Temporary Install: If you're unsure about permanent placement or want to change the position later, low-tack tape (such as Painter's Tape) can be used to hold the strip in place temporarily. This tape is designed to adhere without damaging surfaces.
-
Keep in Mind LED Strip Weight: If you are using long strips or have concerns about weight, mounting clips can offer extra security without leaving marks. Use clips every 12-24 inches to support the weight of the strip.
-
Avoid Over-Stretching the LED Strip: Over-stretching can damage the LED components and make the strip sag. Ensure the strip is securely fastened to prevent this.
-
Install with a Remote Control: For ease of use, consider an LED strip with a remote control for controlling brightness and colors. If your strip is compatible with smart home systems (like Alexa or Google Assistant), you can control the lighting with voice commands.
Where to Buy Materials for a Damage-Free Installation:
-
Amazon: For LED strips, Command Strips, and other installation accessories.
LED Strip Lights on Amazon -
Home Depot: Offers a range of LED strips and mounting products for easy, damage-free ceiling installs.
Home Depot LED Strips -
B&Q (UK): A great place for DIY lighting and Command Strips.
B&Q LED Strip Lights
YouTube Channel for Guidance:
To see how it's done visually, here are some YouTube tutorials that show how to install LED strip lights without damaging the walls or ceiling:
-
DIY Creations: Focuses on home improvement and lighting projects.
DIY Creations on YouTube -
Command Brand: The official channel showing how to use Command Strips for various installations, including LED lights.
Command Brand on YouTube
Conclusion:
Installing LED strip lights on the ceiling without damaging the wall is a quick and easy process if you use the right materials, such as removable mounting strips or double-sided tape. With careful planning, cleaning, and installation, you can add beautiful lighting to your ceiling without worrying about permanent damage. Whether it's for mood lighting, accent lighting, or ambient lighting, LED strips can create the perfect atmosphere in any room!


