Do LED lights require special wiring?
Aktie
LED lights typically do not require special wiring for installation, but there are certain things you need to keep in mind to ensure proper setup. The complexity of wiring depends on the type of LED light system (e.g., individual bulbs, strips, or integrated fixtures) and the voltage of the system (e.g., 120V or 24V). Here's a guide on how to make sure you're wiring LED lights properly, the steps to follow, and the things to consider:
Do LED Lights Require Special Wiring?
Generally, standard LED bulbs can be installed into conventional light sockets (E27, GU10, etc.), similar to traditional bulbs, without requiring special wiring. However, LED strips or integrated LED lighting systems might need specific wiring depending on the voltage and how they are being controlled (for example, with a dimmer or remote).
Steps to Wire LED Lights:
1. Understand the Power Requirements
- Voltage: Ensure that the voltage of your LED light matches the power supply you are using. For instance, if you're using LED strips that run on 12V DC, you will need an appropriate power supply that converts your home’s AC voltage (usually 120V or 240V) to DC voltage.
- Wattage: Check the total wattage of the LED lights to make sure the power supply can handle the load. LED strips typically come with a recommendation for maximum length or wattage per meter, so ensure your power supply matches this.
2. Choose the Right Transformer/Power Supply
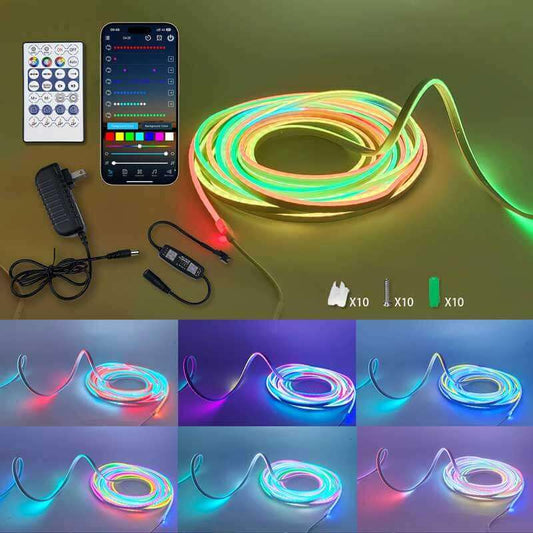
- For low-voltage LEDs (like 12V or 24V LED strips), you'll need an appropriate transformer (also known as a power supply or adapter) to convert the 120V or 240V AC from your home’s outlet to the required DC voltage.
- For high-voltage LEDs (like standard LED bulbs), a regular socket is sufficient.
3. Prepare the Wires and Connectors
- If you're using LED strips, strip the insulation off the wires carefully. Use a wire stripper tool to expose the metal wire without damaging it.
- For LED strip connectors, use quick connectors or solder the wires to the appropriate pads on the strip. Make sure the positive and negative wires are connected to the correct terminals.
4. Soldering (if necessary)
- If your LED strips don’t have connectors, you may need to solder them to the appropriate wires or terminals. Ensure you solder the correct polarity, i.e., connect the positive wire (often marked with a “+”) to the positive terminal of the LED strip and the negative wire (marked with a “-”) to the negative terminal.
- Use a heat shrink tube or soldering tape to insulate the connections, preventing shorts.
5. Install the Power Supply
- If your LED light system uses a transformer, connect the output terminals of the transformer to the LED strips or light fixture.
- Ensure the transformer is rated for the wattage required by your LEDs. If the transformer is undersized, it could lead to overheating or damage to the LEDs.
6. Test the Wiring
- Before final installation, test your wiring by plugging in the power supply and switching on the lights. Ensure all the LEDs are functioning correctly, and there are no flickers or shorts.
- If the LED strips or bulbs don’t light up, check for loose connections, damaged wires, or issues with the power supply.
7. Secure the Wires
- Once everything is functioning properly, secure the wires and connectors in place. For LED strips, you may need to attach them to a surface using adhesive backing or clips.
8. Final Installation
- Mount the LED lights in their intended location, such as under cabinets, along walls, or in a ceiling fixture.
- Ensure the wires are safely tucked away and insulated to prevent wear and tear.
Things to Consider and Advise:
-
Avoid Overloading Circuits
- Ensure that the total wattage of the LED lights does not exceed the capacity of the circuit or power supply. Overloading can cause overheating and potential fire hazards.
-
Check Compatibility with Dimmers
- If you want to use a dimmer, make sure the LED lights and dimmer are compatible. Many LEDs require specific dimmers designed for use with low-voltage lighting.
-
Proper Insulation
- Proper insulation is crucial to avoid electrical shorts, especially in outdoor or damp environments. Use weatherproof connectors if you are wiring LEDs for exterior use.
-
Use Appropriate Wiring
- Gauge of wire: Use the correct gauge wire to carry the current for the LEDs. For high-wattage setups, thicker wires may be needed to handle the load safely.
-
Install an On/Off Switch (Optional)
- If you’re wiring LEDs in a custom setup, consider installing an on/off switch for easy control. Some LED strips come with an integrated switch, but for larger installations, this might require separate control.
-
Heat Management
- Ensure that heat management is considered. LEDs generate less heat compared to traditional lights, but high-wattage setups or poor wiring can lead to heat buildup. Choose heat-dissipating fixtures or heat sinks when necessary.
-
Using RGB or Smart LEDs
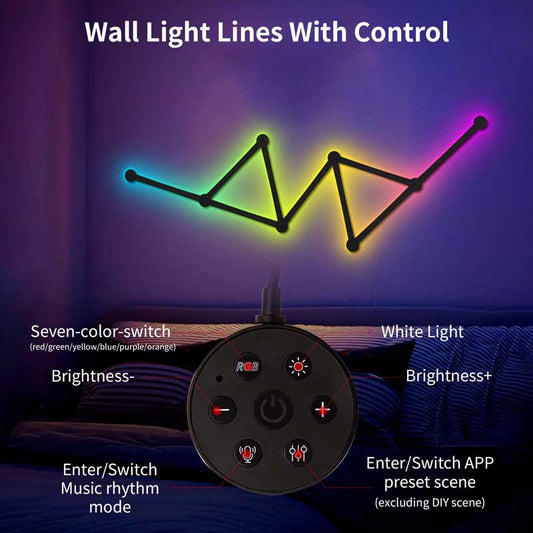
- If you’re installing RGB LEDs or smart LEDs (controlled via app or remote), ensure that your wiring setup is compatible with the control method. You may need to install a hub or controller for synchronization.
Common Mistakes to Avoid:
- Incorrect polarity: Always double-check the positive and negative connections when wiring LEDs.
- Overloading the power supply: Use a power supply rated for the total wattage of your LED lights.
- Incompatible dimmers: If you want dimming functionality, make sure the dimmer is compatible with LEDs.
- Not insulating wires properly: Failing to insulate the wires can result in shorts, sparks, and electrical hazards.
By following these steps and considering these factors, you can safely and efficiently wire your LED lights, whether for home or business use. Make sure to always use quality components and follow safety procedures to ensure a successful installation.


