How do you install lights under gutters?
Partager
Installing lights under your gutters is a great way to enhance your home’s exterior, especially for seasonal or year-round lighting displays. There are several methods to install lights under gutters depending on the type of lighting you're using (LED strips, string lights, or icicle lights) and the tools available to you. Below is a comprehensive step-by-step guide for safely and effectively installing lights under gutters.
Materials Needed:
- Outdoor-rated lights (string lights, LED strips, icicle lights, etc.)
- Gutter light clips (plastic clips designed to attach lights to gutters)
- Extension cords (outdoor-rated, if necessary)
- Measuring tape
- Ladder (if you're installing at a height)
- Outdoor-rated timer (optional, to control when the lights turn on/off)
- Zip ties (optional for securing excess cord)
- Outdoor power source (GFCI outlet)
Step-by-Step Guide for Installing Lights Under Gutters
1. Plan Your Light Installation
- Measure the Gutter Length: Measure the length of the gutters where you want to install the lights. This ensures that you buy enough lights to cover the area.
-
Decide on the Lighting Style: Choose the type of lights you’ll use under the gutters. Popular options include:
- String lights: Flexible and easy to install.
- Icicle lights: Create a festive effect.
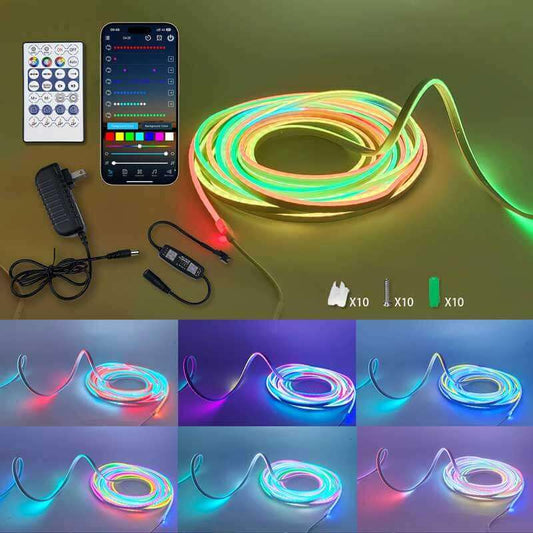
- LED strips: For a more modern look.
- Check Your Power Source: Ensure you have an outdoor electrical outlet or that you have an appropriate outdoor extension cord to power the lights. Ensure the outlet is GFCI-protected (Ground Fault Circuit Interrupter).
2. Select the Right Clips
The right clips will hold your lights securely under the gutters without damaging the material. There are several types of clips designed specifically for gutters:
- Gutter Hooks: These hook over the edge of your gutters, allowing lights to hang down naturally.
- S-style Clips: These clips are ideal for string lights or icicle lights and hook onto the gutter while holding the lights in place.
- Gutter Clips for LED Strips: Some LED strips come with their own clips or adhesive backing. You can also use universal clips designed for LED strips.
Tip: Ensure the clips are outdoor-rated and designed to withstand weather conditions like rain and snow.
3. Test the Lights
Before you begin installing, plug in the lights to make sure they work properly. Check for any defective bulbs or connections and replace them if necessary.
4. Set Up the Ladder
If your gutters are high up, you’ll need a ladder to reach them safely. Set up the ladder on a flat, stable surface. Make sure it’s positioned at the right angle to give you easy access to the gutters. For tall homes, a multi-position ladder or extension ladder is usually necessary.
Tip: Always have a second person hold the ladder if possible, especially when reaching higher places.
5. Install the Light Clips
- Start at One End: Begin at one end of the gutter, ideally at the corner or near a power outlet, to ensure that the power source reaches the lights.
- Attach the Clips: Secure the clips to the gutter. For S-hooks or gutter hooks, place them over the lip of the gutter, ensuring they’re evenly spaced. For string lights, place a clip every 12-18 inches to prevent sagging. If you’re using LED strips, clip them at regular intervals according to the manufacturer’s instructions.
- Ensure Proper Fit: Make sure the clips are securely attached to the gutter, so the lights won’t slide out of place. If you’re using LED strips with adhesive backing, press them firmly into place under the gutter.
6. Hang the Lights
- Position the Lights: If you're using string lights, gently lay them across the clips as you work your way along the gutter. If you're using icicle lights, hang them so the icicles drape down below the gutter.
- Secure the Lights: Use the clips to hold the lights in place. For string lights, ensure that they’re not too tight, which could cause damage. For LED strips, press the strip firmly into the clips.
Tip: If you're installing lights along a long stretch of gutter, it’s a good idea to use a telescoping pole with a hook to hang the lights if you don’t want to use a ladder repeatedly.
7. Manage the Wiring
- Power Source: Plug the lights into an outdoor-rated extension cord and make sure the cord is secured and not hanging loosely. If possible, hide the excess cord behind the gutters or tuck it into a safe corner.
- Zip Ties for Security: If necessary, use zip ties to secure the lights and the cord along the gutters to prevent them from moving or being damaged by wind.
- Connect Multiple Strands: If you need to connect multiple light strands, ensure that each strand is plugged into a compatible outlet and does not exceed the wattage rating of the outlet.
8. Plug the Lights In
Once the lights are secured, plug them into an outdoor outlet, preferably one with GFCI protection. If you don’t have an outdoor outlet nearby, use a weather-resistant extension cord that’s rated for outdoor use. Make sure the extension cord is rated to handle the wattage of your lights.
Tip: Consider using a timer to automatically turn the lights on and off at desired times. Many outdoor timers are available that can handle the outdoor elements.
9. Test and Adjust
Turn the lights on and make sure they’re working as expected. Walk around the exterior of your home to check for any areas where the lights may need adjustment. Ensure there are no exposed wires or connections.
Additional Tips for Installing Lights Under Gutters
- Consider the Weather: If you're installing lights during the winter months, make sure the lights are rated for cold weather use. Some lights may struggle to stay lit in extremely cold temperatures.
- Use LED Lights for Energy Efficiency: LED lights consume less power than traditional incandescent lights, which will save you money on your electric bill.
- Safety First: If you're working with electrical lights and extension cords, always ensure your connections are weatherproof. Protect outlets with covers and make sure there’s no exposed wiring.
- Gutter Maintenance: Clean your gutters before installing lights to avoid blocking drainage. Clogged gutters can lead to water damage and prevent your lights from staying securely in place.
Conclusion
Installing lights under your gutters is an easy way to add charm to your home’s exterior, especially during the holidays or for year-round lighting. With the right tools, such as light clips, extension cords, and a ladder (or telescoping pole), you can safely hang your lights and create a beautiful display. Be sure to plan your installation, test the lights beforehand, and use proper safety measures to ensure a successful and enjoyable decorating experience.


